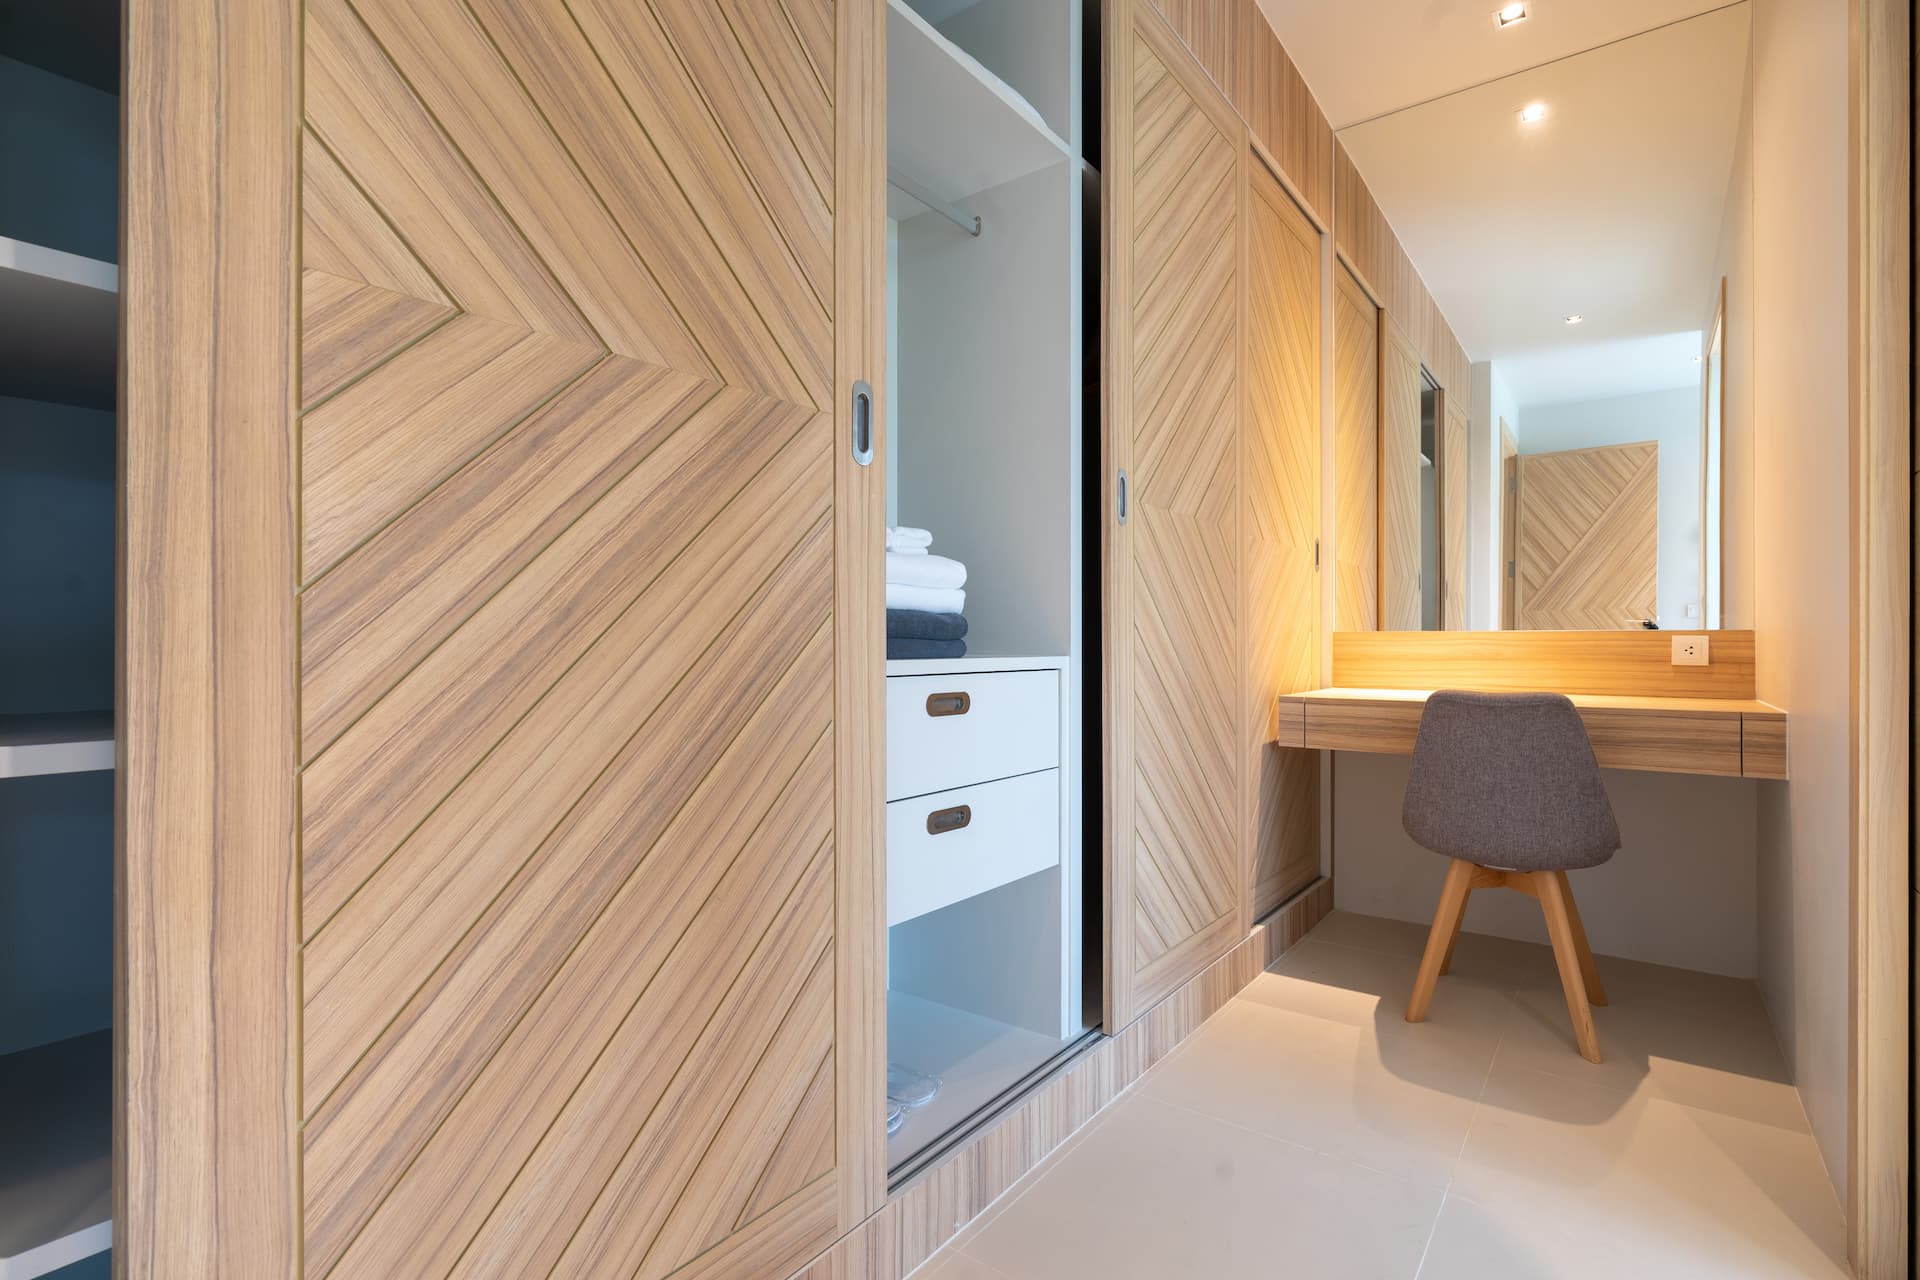
Creating fitted wardrobes is one of the most rewarding ways to enhance both the style and functionality of your bedroom. In UK homes, where space can often be at a premium, fitted wardrobes offer a smart, tailored solution that maximises every inch. Unlike freestanding units, fitted wardrobes are designed to fit snugly into your room’s unique layout, whether you’re working with alcoves, sloped ceilings, or unusual corners. This guide will walk you through how to build fitted wardrobes yourself—from initial planning right through to installation.
Why Choose Fitted Wardrobes Over Freestanding Options?
Fitted wardrobes are a practical choice, especially in older UK properties where rooms can be quirky in shape and size. While freestanding wardrobes can look good, they often leave wasted gaps at the sides, behind, or above, gathering dust and creating an untidy appearance. Fitted wardrobes, on the other hand, are custom-built to your room’s exact dimensions, giving a seamless, made-to-measure look that feels more permanent and polished. Besides the aesthetic benefit, they’re also a dream in terms of storage efficiency. You can decide exactly how much hanging space, shelving, and drawer space you need, designing an interior layout that suits your lifestyle, whether you’re a minimalist or a certified shoe collector.
Planning Your Fitted Wardrobe Build
Before picking up a single tool, spend time thinking through the design and layout. Measure your space carefully, and not just at floor level. Ceilings in older houses can slope or dip, so it’s crucial to measure both height and width at multiple points. Don’t forget to consider skirting boards, coving, and any electrical sockets that might get in the way. At this stage, it’s worth sketching out your ideal wardrobe interior. Think about what you need to store and plan for a mix of hanging rails, shelves, drawers, and maybe even integrated lighting. Some people opt for mirrored doors to give the illusion of more space, especially in smaller bedrooms. Others prefer a sleek, painted finish that matches their decor.
Choosing the Right Materials
Once your design is set, you’ll need to decide on materials. Most UK DIYers choose MDF or plywood for the structure because they’re sturdy, affordable, and easy to paint. If you’re after a high-end finish, you might consider veneered MDF, which gives the appearance of solid wood without the weight or cost. For the wardrobe doors, shaker-style panels remain popular for their classic look, while flat slab doors offer a more contemporary aesthetic. Hardware like soft-close hinges, smooth runners for drawers, and modern handles will all contribute to the final feel of your project.
Preparing the Space for Construction
Now it’s time to prepare your bedroom for the build. Clear the area completely, removing any furniture, fixtures, or fittings in the way. If your wardrobe will sit on carpet, it’s best to roll it back or cut it away in the section where the base will go, allowing the structure to rest directly on the floorboards for stability. Mark your wall where the wardrobe will go using a spirit level and straight edge to ensure everything is aligned. If your floor or ceiling isn’t perfectly level, very common in UK homes, you’ll need to account for that as you build.
Constructing the Frame
The frame is the skeleton of your wardrobe and must be built square and level. Start by constructing a plinth or base that the wardrobe will sit on. This raises the structure slightly off the ground and makes it easier to level the frame. Use timber battens fixed to the floor and wall as your foundation, making sure everything is solid and secure. With the base in place, you can build the side panels. These are fixed vertically and aligned using your level. Fix them to the wall using brackets or screws into wall plugs, depending on your surface—brick, plasterboard, or stud walls all require different fixings. Add a top panel to connect the sides and form a sturdy box. Some people prefer to also add a back panel, but this is optional. In many cases, leaving the wall exposed at the back is easier and doesn’t affect the structure.
Building the Interior Storage
With the outer frame complete, it’s time to build the interior. This is where your earlier planning pays off. Measure and cut panels for the shelves and dividers, ensuring each piece fits snugly within the frame. Use batten supports or concealed brackets to fix the shelves in place. Hanging rails should be installed with enough clearance from the top of the frame to allow hangers to move freely. For drawers, consider using pre-made drawer kits to save time and guarantee smooth operation. These can be fitted directly into the carcass using runners, ensuring they sit flush with the front of the frame. Each drawer needs to be measured and aligned carefully to avoid any sticking or uneven gaps.
Installing the Doors
Doors are the final piece of the puzzle and have the biggest impact on the overall look. Whether you’re using sliding or hinged doors, ensure they’re cut to size accurately. Hinged doors need reliable, adjustable hinges that can be fine-tuned to get the perfect fit. Sliding doors require a track system, which should be installed at the top and bottom with precision. Take your time when hanging doors. Minor adjustments to the hinges or tracks can make a big difference to how the wardrobe looks and feels. If you’re painting the doors, consider doing so before installation to get a cleaner finish.
Finishing Touches
Once everything is assembled, take time to sand any rough edges and fill any visible screw holes with wood filler. Caulk any gaps where the wardrobe meets the wall or ceiling to give a clean, built-in appearance. Then apply your chosen paint or finish. In the UK, neutral tones like white, grey, or off-white remain popular as they work well with a wide range of interior styles. Add your handles, check all doors and drawers operate smoothly, and step back to admire your work. Built-in wardrobes don’t just look great; they’re a practical investment that adds real value to your home.
Cost Considerations and Timeframe
Building fitted wardrobes yourself can save you a considerable amount compared to hiring a specialist. Material costs vary depending on what you choose, but most DIY wardrobes cost a fraction of what you’d pay for a fully bespoke fitted service. However, be prepared to dedicate several days or even a couple of weekends to complete the job properly. If time is short, you might consider a semi-DIY option, where the main carcass is pre-made and you simply fit it into place and customise the doors and finishes. There are several UK-based companies offering flat-pack fitted wardrobe kits that blend convenience with the flexibility to tailor the design.
Common Mistakes to Avoid When Building Fitted Wardrobes
One of the most common errors when building fitted wardrobes is underestimating the importance of precise measurements. Even a few millimetres out can result in misaligned doors, uneven gaps, or shelves that simply don’t fit. Always double-check your dimensions and use a reliable tape measure and spirit level throughout the build. Another frequent mistake is failing to properly account for wall irregularities, particularly in older UK homes where nothing is truly square. Always test-fit components before securing them permanently. It’s also essential to use the correct fixings for your wall type—plasterboard walls, for instance, need different anchors compared to solid brick. Rushing the paintwork or applying it before fully sanding and prepping surfaces can also affect the final finish. Taking time to get each step right may slow things down, but it guarantees a more professional, lasting result.
Should You Hire a Professional or Go DIY?
Deciding between a DIY approach and hiring a professional often comes down to budget, time, and confidence in your skills. Building a fitted wardrobe yourself is definitely achievable for someone with basic DIY experience and the right tools, and it can save you hundreds—sometimes thousands—of pounds. It’s ideal if you enjoy hands-on projects and want a fully customised finish. However, if your space presents unique challenges like angled ceilings, awkward alcoves, or uneven floors, a professional carpenter or fitted furniture company might be worth considering. Professionals can complete the job quickly and often deliver a flawless result, but the cost will reflect that. Many homeowners in the UK opt for a hybrid approach: assembling pre-cut components themselves while outsourcing more technical aspects like bespoke doors or internal drawer systems. Whichever route you choose, a well-designed fitted wardrobe will significantly elevate your bedroom’s style and functionality.
The Satisfaction of a Job Well Done
There’s something incredibly satisfying about building your own fitted wardrobe. Not only do you end up with a tailored piece of furniture that perfectly suits your needs, but you also gain the confidence and skills that come with completing a hands-on project. In many UK homes, storage is at a premium, and a well-built wardrobe can be a game-changer in how tidy, efficient, and stylish your space feels. By taking the time to measure carefully, plan thoughtfully, and build methodically, you can create a bespoke wardrobe that rivals anything a professional might install. It’s an investment of time and energy, yes—but the end result is something that will serve you well for years to come.


Our Services